


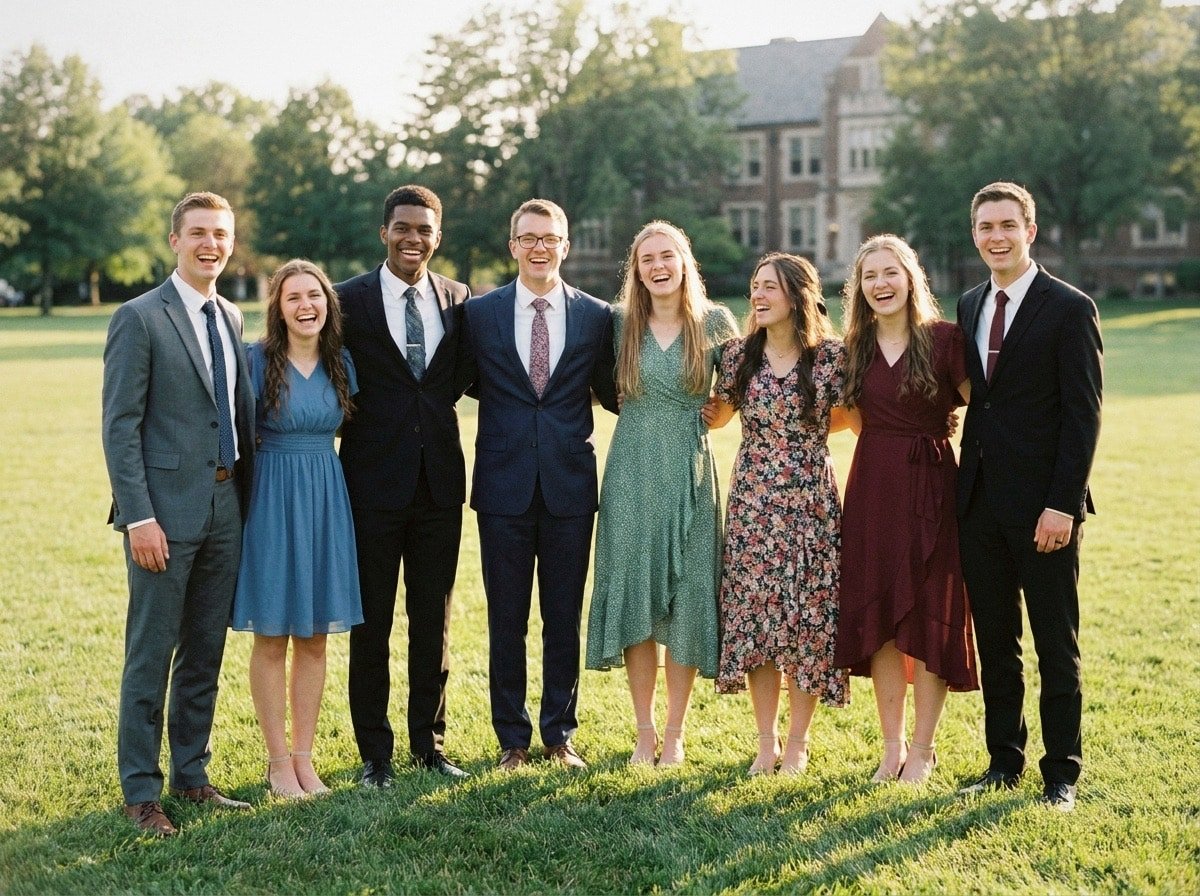
The photos happen before the fun does
Here is the awkward truth about homecoming pictures. They almost always happen in somebody’s front garden at five in the afternoon, with four parents holding phones, before anyone has relaxed into the evening. That is why so many hoco photos come out stiff. Nobody is having a good time yet, everyone is being told where to stand, and the standard instruction is to stand side by side and smile. The fix is not better lighting or a better camera. It is giving yourselves something to do. Every pose on this list is built around an action, a prop or a location rather than a position, because the moment you are doing something the stiffness disappears. Twenty ideas below, across the classics worth getting, the movement shots that produce real expressions, poses built around a location, and the practical stuff that makes the whole set look better.
Three things that save the whole photo session
Get the full outfit shot first, then relax. Everyone wants one clean head-to-toe photo showing the dress and the suit properly, so take that one immediately while everyone is tidy. Once it is done, the pressure is off and the rest of the photos get noticeably better.
Take far more than you think you need. Photographers shoot dozens of frames for every one they keep, and the good one is almost never the first. Ask whoever is holding the phone to keep shooting through a pose rather than taking one and stopping.
And mix posed with candid. The shots people actually love years later are the ones where somebody was laughing at something off camera, not the ones where everyone was told to say cheese. Build a few genuinely silly ones into the set on purpose.
Direction 1: The classics worth getting
1. The corsage and boutonnière moment
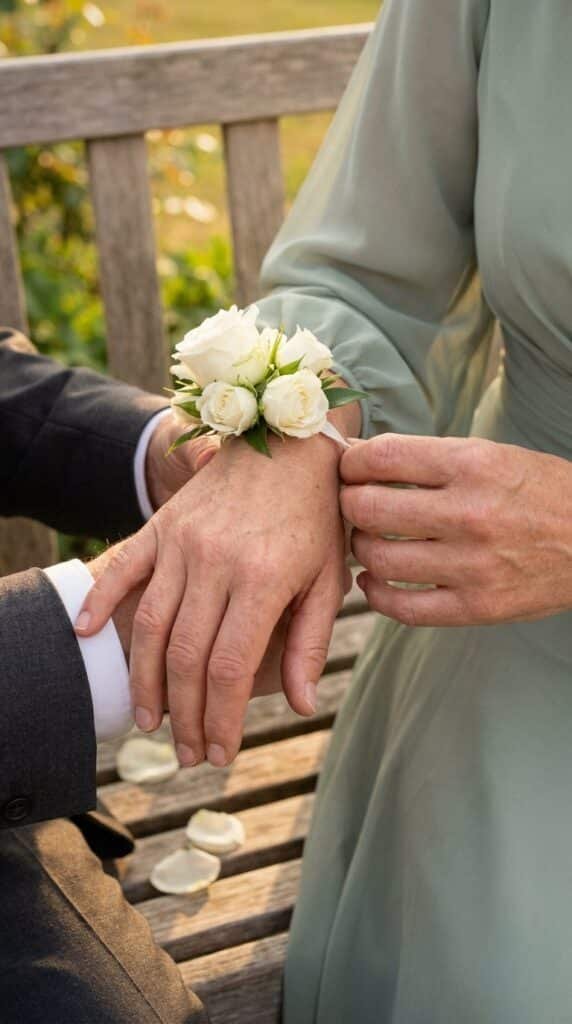
One of you pinning the boutonnière or sliding the corsage onto the other’s wrist, both looking down at what you are doing. It is the single best hoco photo there is because it is a real task, so nobody is posing. Take it as a sequence rather than one frame.
2. The full head-to-toe
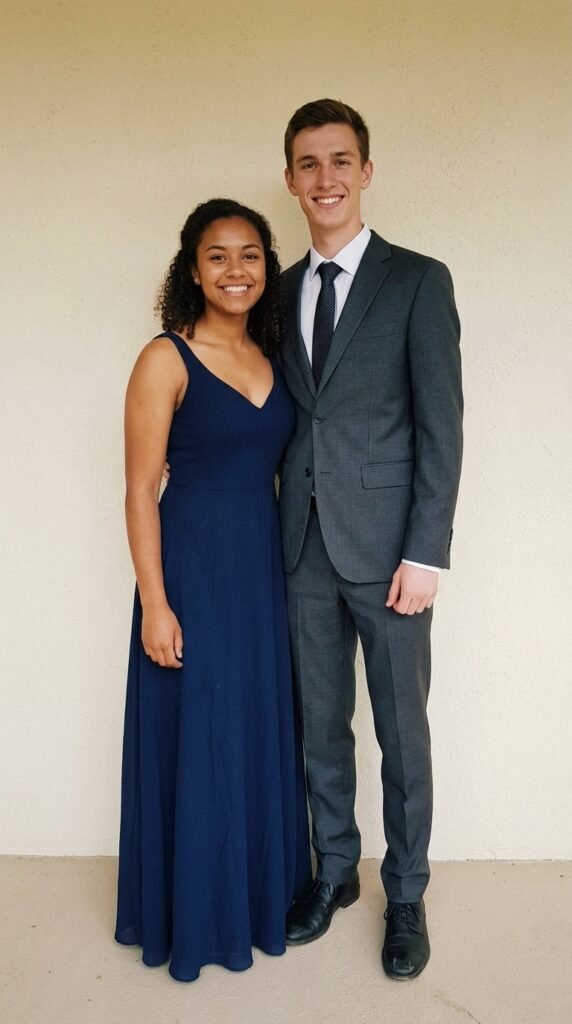
Standing side by side, facing the camera, with the whole outfit visible from hair to shoes. It is the shot your family wants and the one that shows the dress and the suit properly. Stand slightly angled rather than square on, and make sure nobody cuts off your shoes.
3. Arm in arm
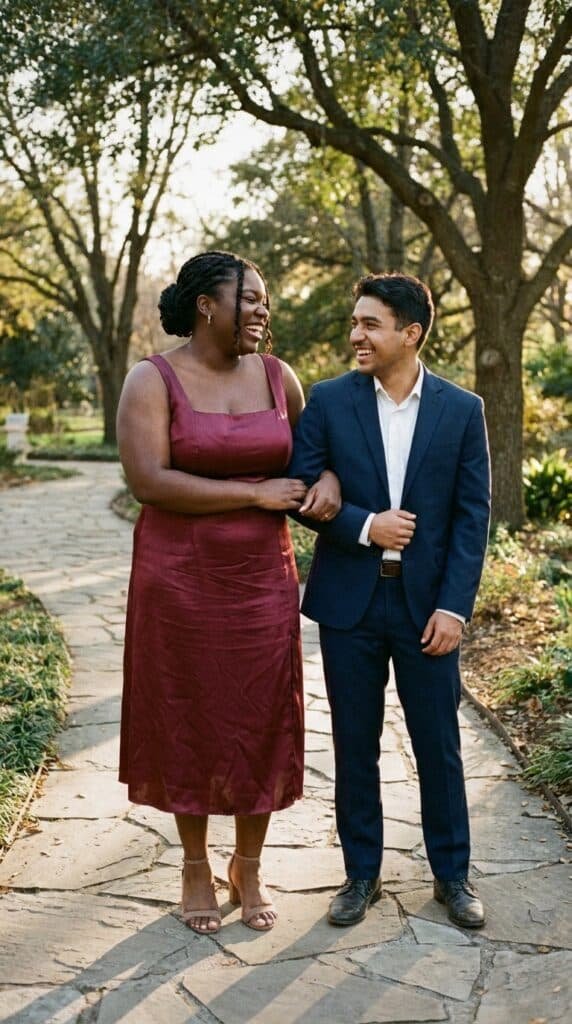
Linked at the elbow, turned slightly toward each other, walking or standing. It is classic, it is comfortable and it works for every pairing. It also solves the question of what to do with your hands.
4. Back to back
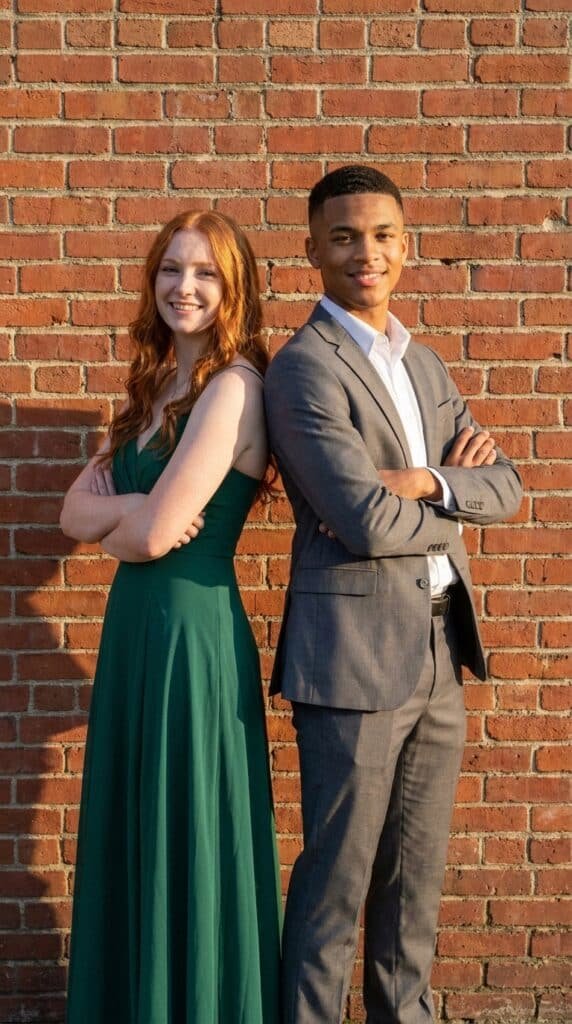
Standing back to back with arms crossed or hands in pockets, both looking toward the camera. It is a bit playful without being silly and it shows both outfits clearly. It suits friends going together as much as couples.
5. The height difference shot
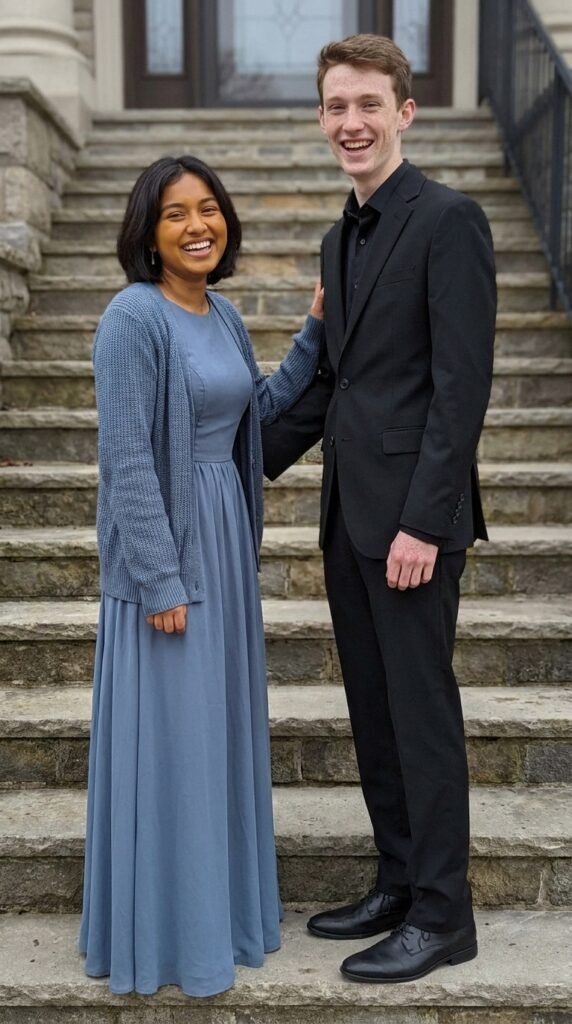
Leaning on each other’s shoulder, or one of you standing a step higher to even things out. Working with a height gap rather than pretending it is not there is always funnier and better. A staircase does this for you automatically.
Direction 2: Movement and candids
6. Walking toward the camera
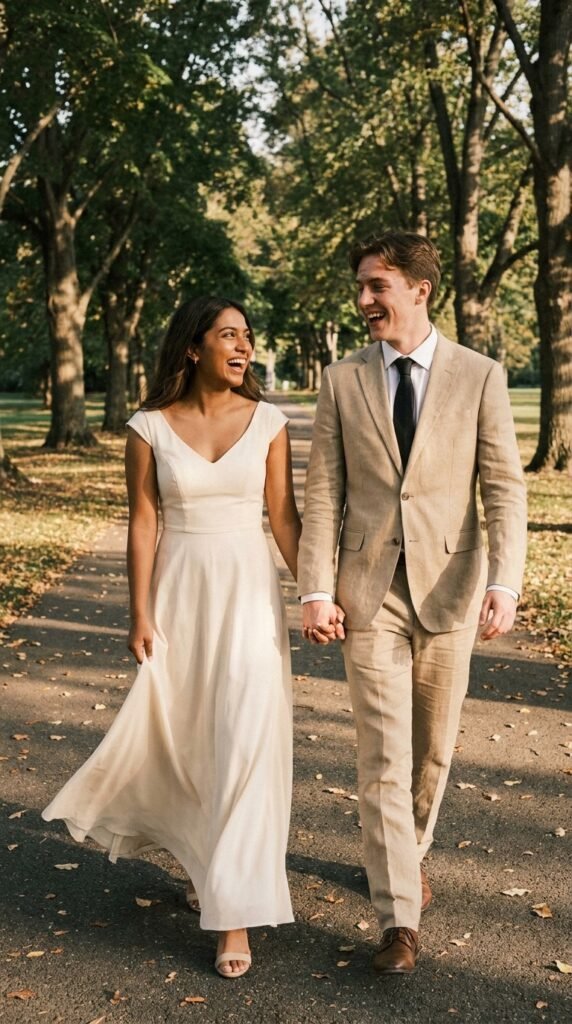
Both of you walking forward, actually talking to each other rather than at the lens. Movement removes self-consciousness faster than anything else, and the third or fourth frame is usually the good one. Do not look at the camera at all.
7. The laugh
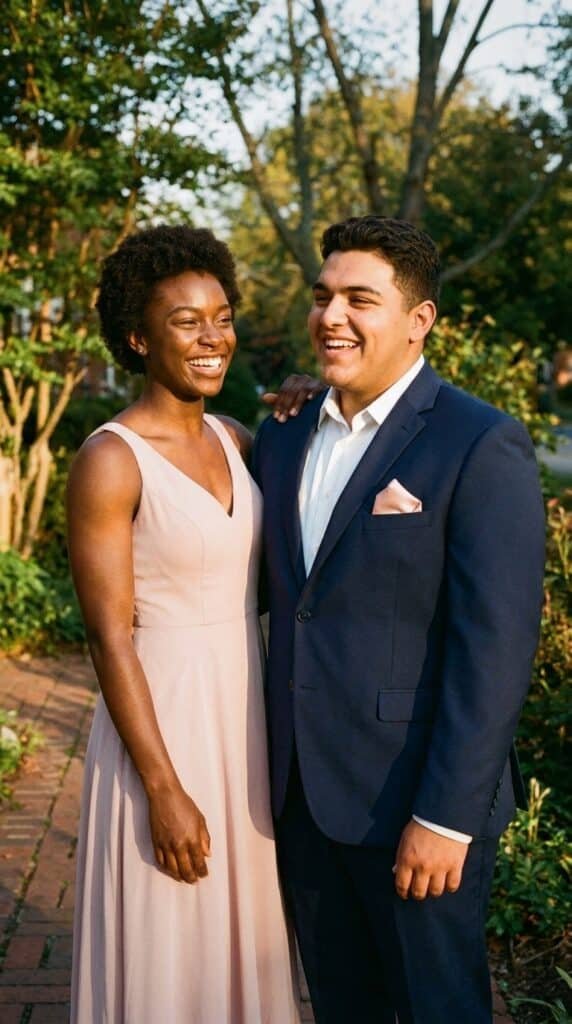
Somebody standing behind the camera saying something genuinely stupid to make you both laugh. Real laughter looks completely different from posed laughter and everyone can tell the difference. Assign a friend this job in advance.
8. The spin
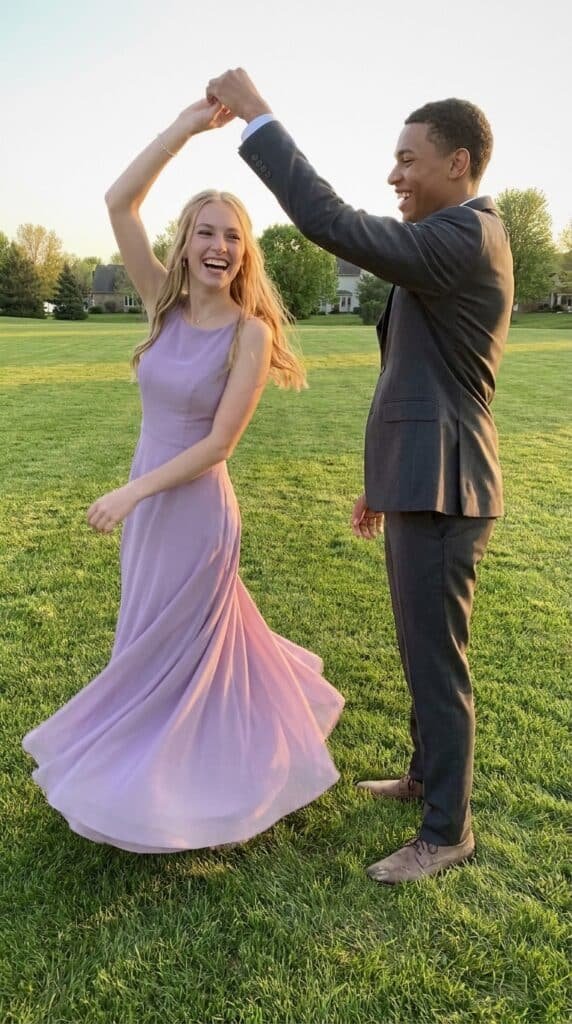
One of you spinning the other so the dress moves. It is the most fun photo to take and it always produces a good expression. Do it on flat ground and spin more times than you think you need.
9. The dip
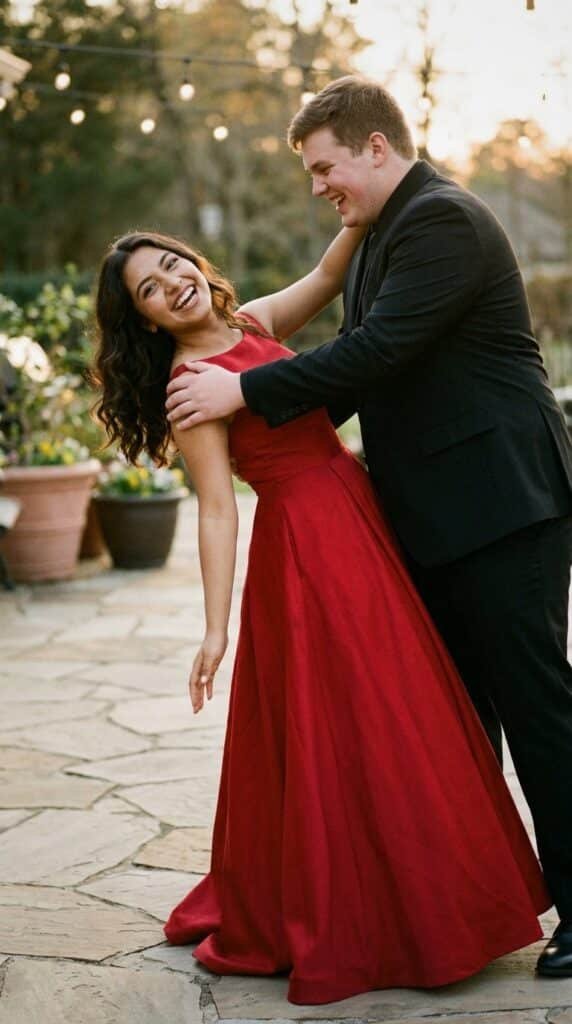
A proper ballroom-style dip, held for a second. It is dramatic and it makes everyone watching laugh, which helps the expressions. Only do it if the person doing the dipping can genuinely hold it.
10. The jump shot
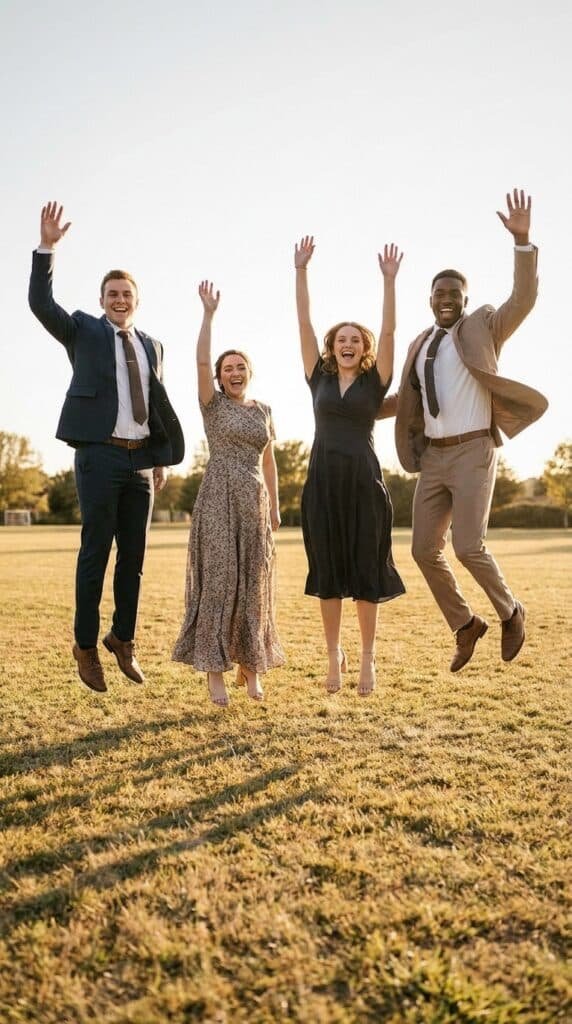
Both of you jumping at the same time, ideally with a group. It rarely works on the first attempt and that is part of the fun. Count down out loud so the timing matches.
Direction 3: Poses built around a location
11. The staircase
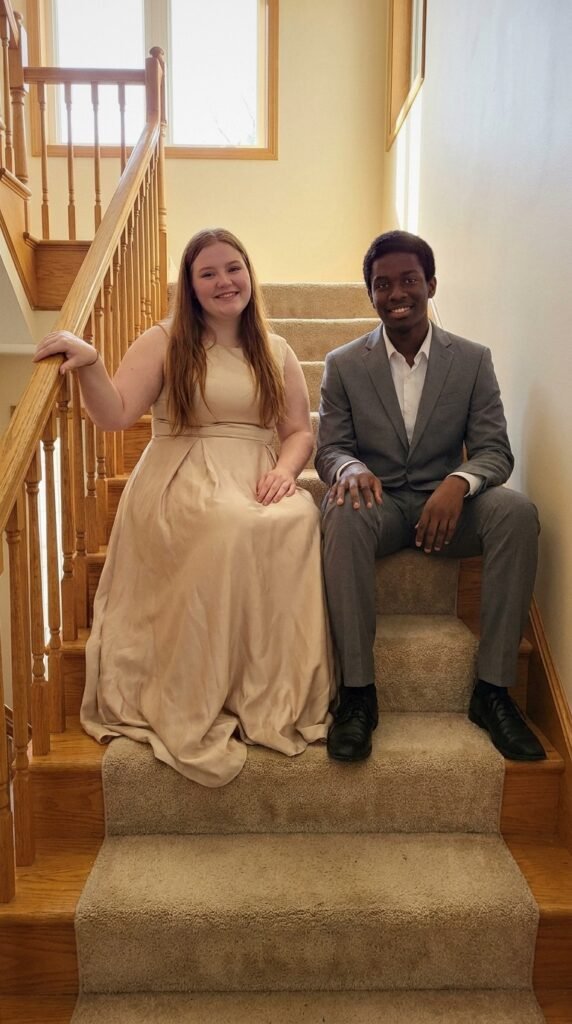
Standing on different steps, or sitting together on the stairs. Staircases solve height differences, give the photo depth and are in almost every house. Sit a step apart rather than squashed together.
12. Sitting on the car
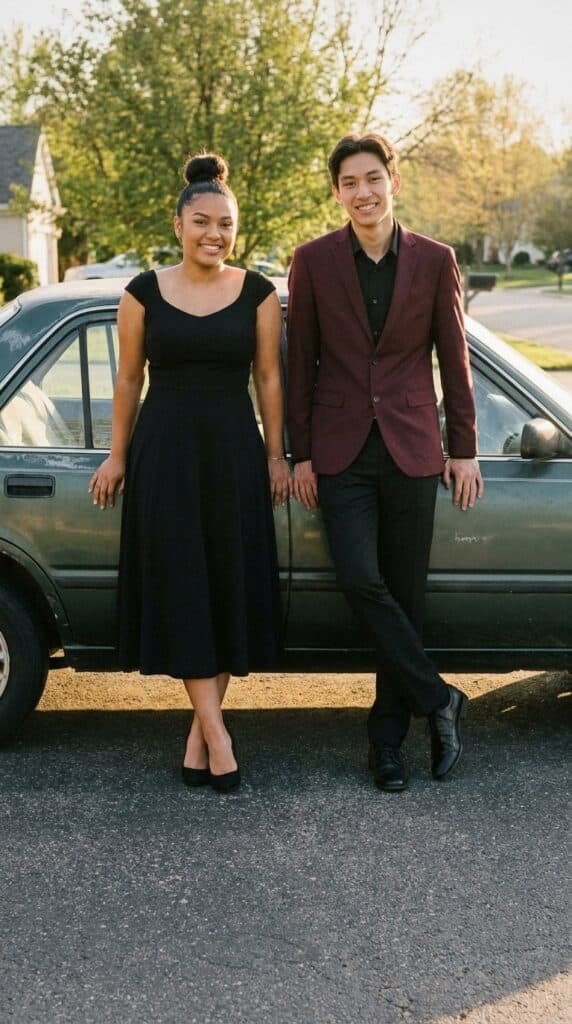
Perched on the bonnet or leaning against the side of a car, especially an older one. It is relaxed and it gives you something to lean on, which instantly fixes stiff posture. Check with whoever owns the car first.
13. Against a plain wall
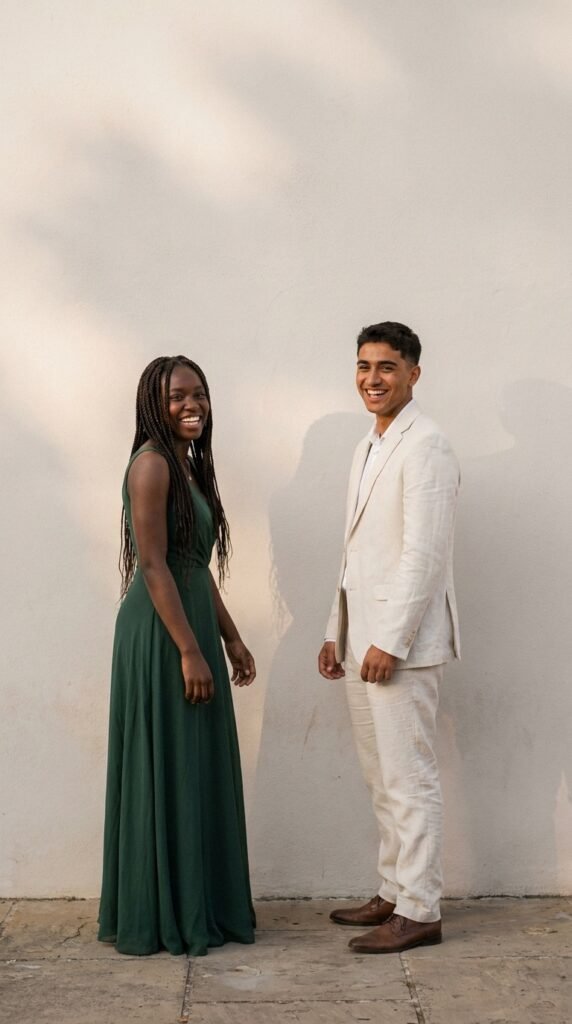
A clean brick, stucco or painted wall with nothing else in the frame. A plain background makes the outfits the subject and it is the most reliable location for a sharp photo. Stand a metre away from the wall so you are not casting hard shadows on it.
14. The doorway or archway
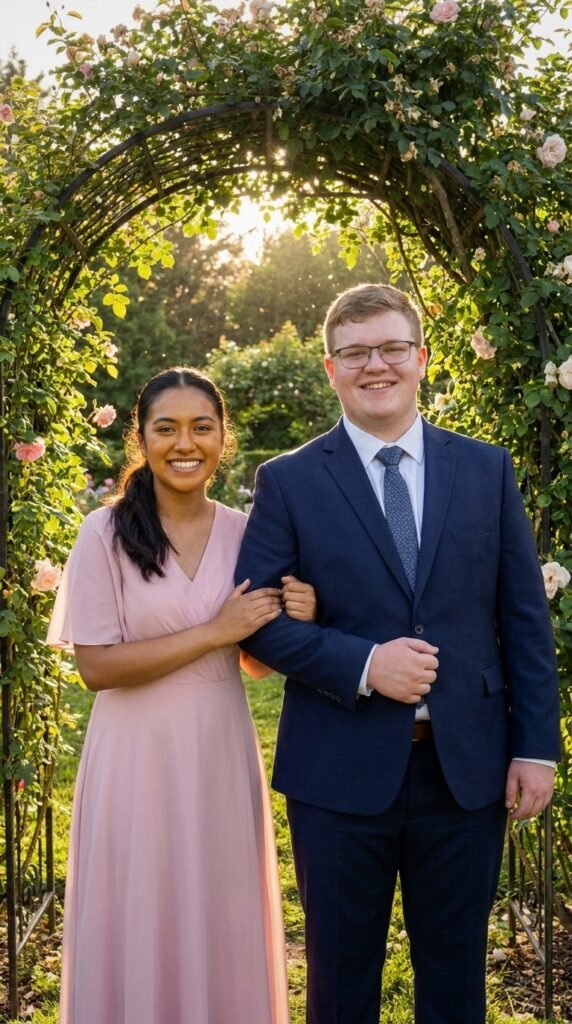
Framed inside a front door, a garden arch or a gate. The frame within the frame makes a phone photo look considerably more composed than it is. It also gives you both somewhere to lean.
15. The reflection shot
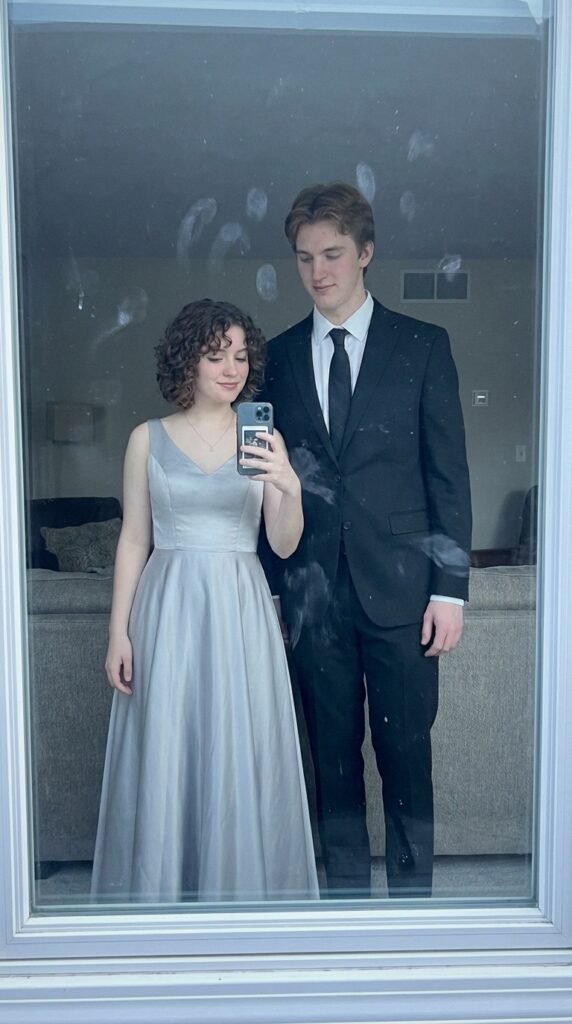
Photographed in a mirror, a window or a car door. It is the artsy one and it looks far more intentional than it is. Watch for the person holding the phone appearing in the reflection unless you want them there.
Direction 4: Making the whole set better
16. Shoot at golden hour
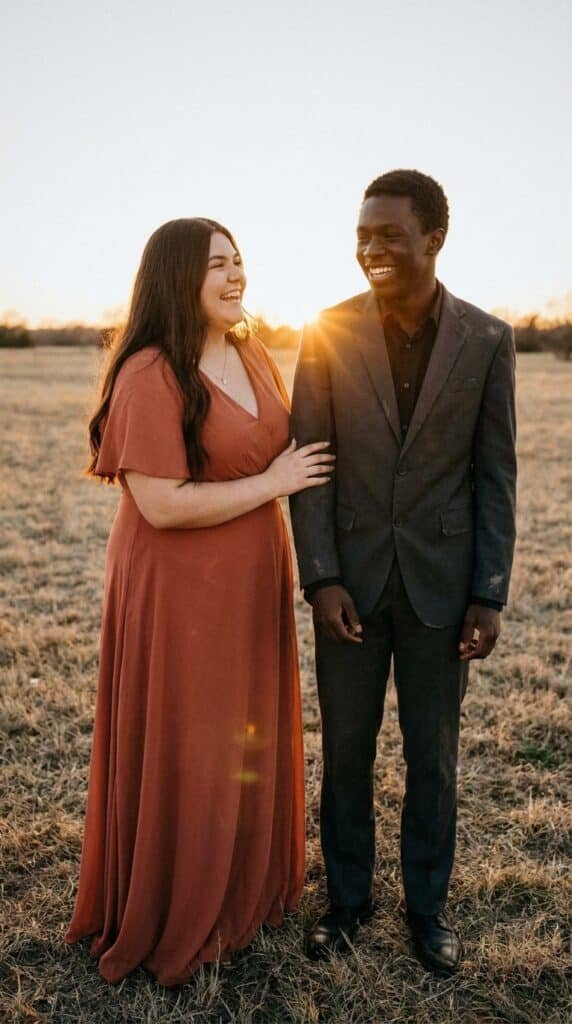
The hour before sunset gives warm, soft, flattering light with no harsh shadows. If your photos are at four in the afternoon in full sun, move into open shade instead. Never stand with the sun directly overhead.
17. Take the detail shots
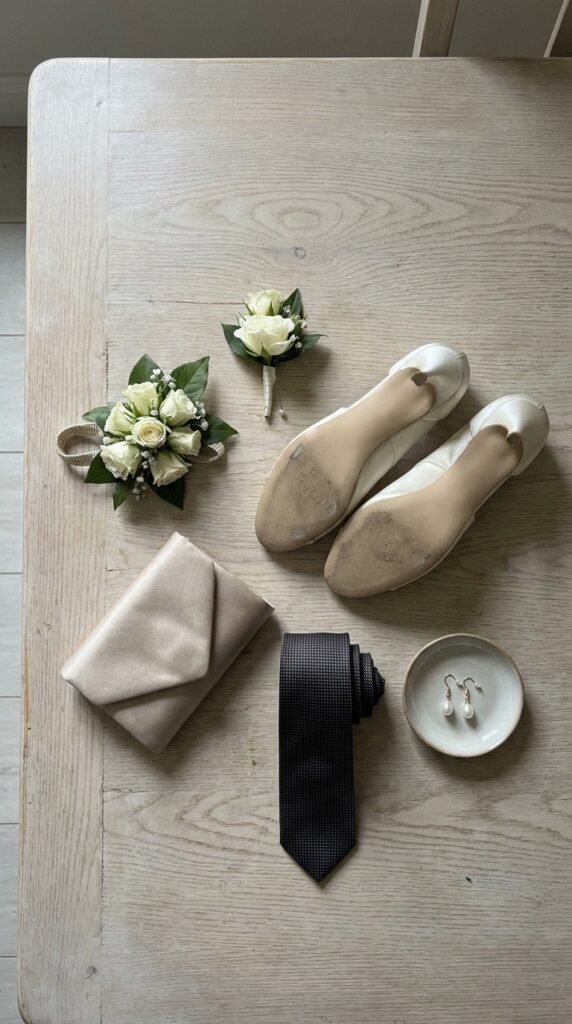
Close-ups of the corsage, the shoes, the tie, the jewellery. They fill out the set and they are the shots nobody thinks to take until afterwards. They also work brilliantly as a photo dump.
18. Do the group shots first
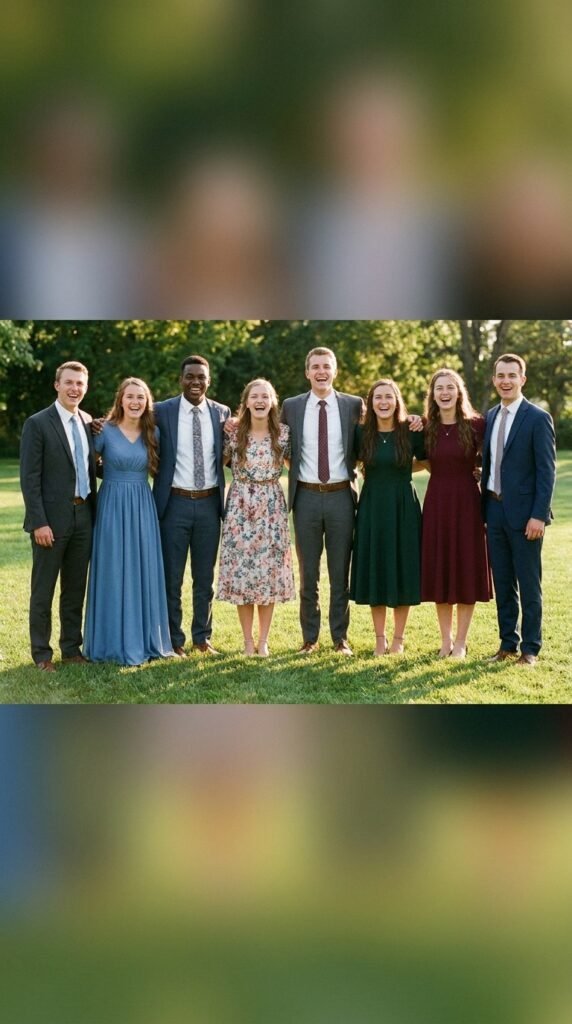
Get the whole group photographed before splitting into couples and pairs, while everyone is still together and nobody has wandered off. Group first, then couples, then friends, then solo. Running it in that order saves about twenty minutes of shouting.
19. Watch your hands
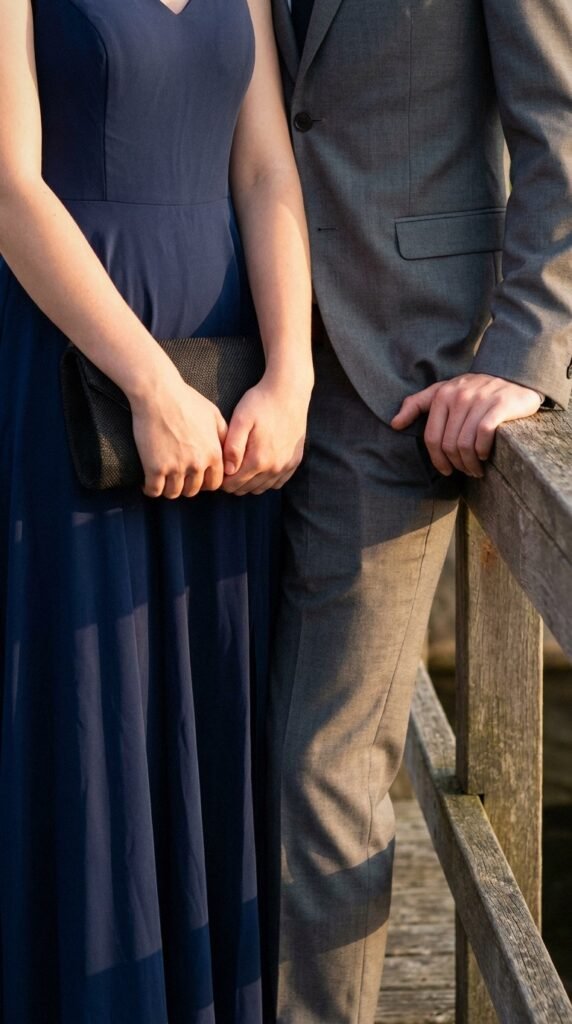
Hands are where photos go wrong. Hold something, hold each other’s arm, put one in a pocket, or rest one on a railing. Anything is better than letting them hang, and a bouquet or a clutch solves it instantly.
20. Get one you both actually like
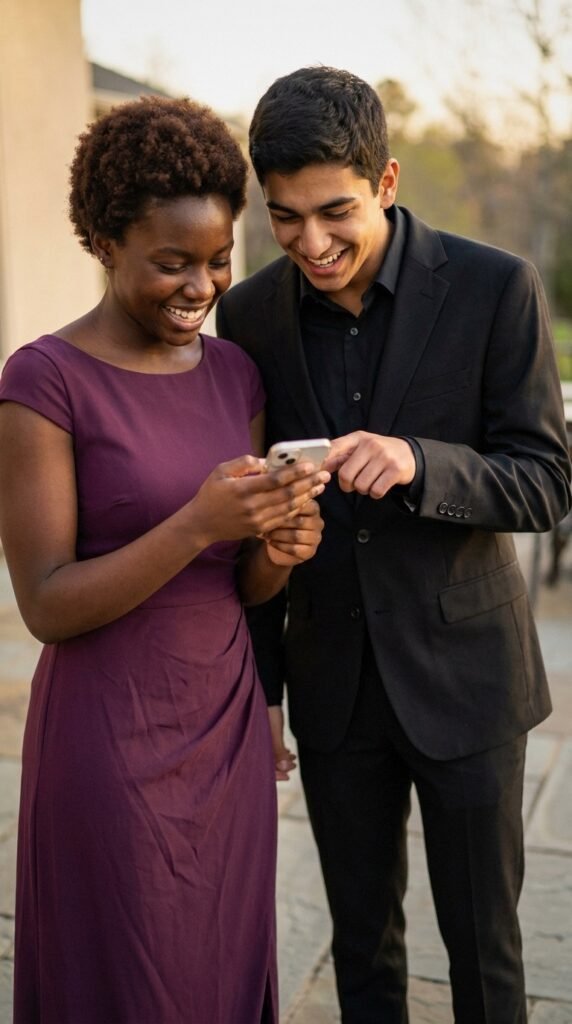
Before you leave, look through the photos together and check there is at least one you are both happy with. It takes thirty seconds and it is far easier than discovering later that the only good one has somebody blinking. Retake it while everyone is still dressed.
A few things worth sorting beforehand
Agree the location in advance. Everyone drifting around a garden trying to decide where to stand is how the light disappears and people get bored. Pick two or three spots before anyone arrives and move between them.
Charge the phone and clear the storage. This ruins more photo sessions than bad weather does. Whoever is designated photographer should arrive with space and battery.
And decide who is actually taking them. If four parents are all shooting at once, everyone is looking in four directions in every frame. Pick one person, have everybody look at that one phone, and let the others take their own afterwards.
If I am picking three to start with
The corsage moment, because it is a real action and it is the photo everyone ends up loving. Walking toward the camera mid-conversation, because it works even if you both hate being photographed. And the full head-to-toe at the very start, because it is the one your family wants and getting it done early relaxes everyone for the rest. Save this to your hoco board on Pinterest and send it to whoever is taking the photos so they know the plan.
